- Thu, Jun 2022
- |
- Mayas Painting
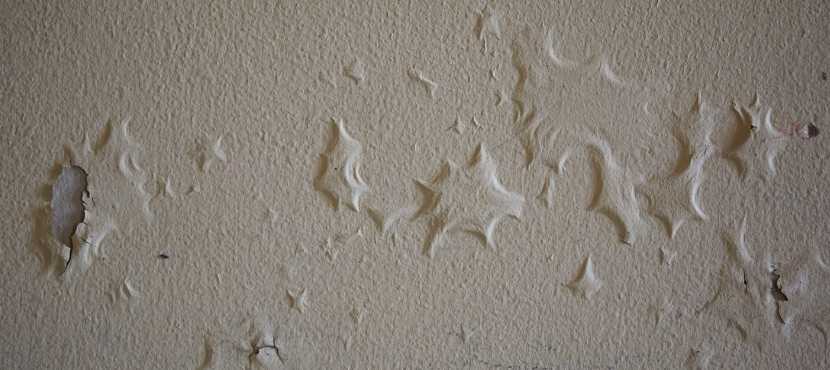
Painting can give you some struggles, and one of them is paint bubbling on plaster walls. Here, you can find a guide on the causes of paint bubbling.
By knowing what causes bubbles on the wall, you can avoid wasting paint and use it more appropriately to achieve outstanding results as a professional.
Don’t Let Bubble Painting Into Your Wall Due to a Negligence | Learn Value Tips
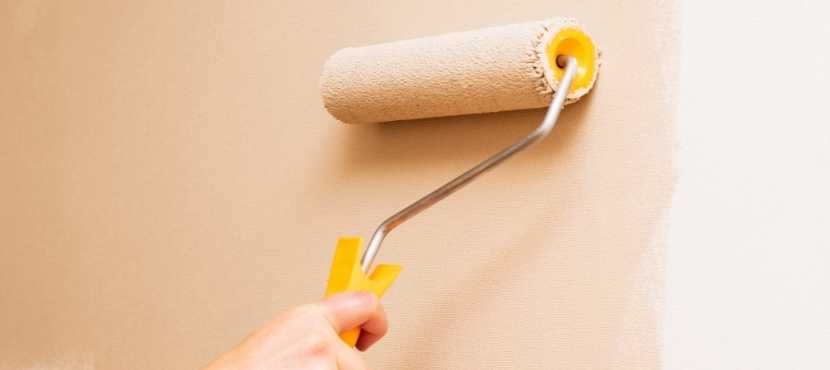
In fact, by knowing the proper procedures to execute your painting project, you will avoid having bubbles on your wall.
However, you should know that the common causes of paint bubbling on plaster walls are:
- An unclean surface
- Excess moisture
- An improperly prepared surface
Keep reading to find more in-depth information.
Clean the Surface for a Wall Free of Paint Bubbles
Bubbling is an unpleasant defect that can give a wrong impression of your interior and exterior paint jobs.
Nevertheless, the first reason these bubbles appear is due to a lack of cleanliness of the wall. Clean the surface and remove any imperfection that can ruin your painting work.
When you hire a professional to do the paint job, make sure they clean the surface to get long-lasting results.
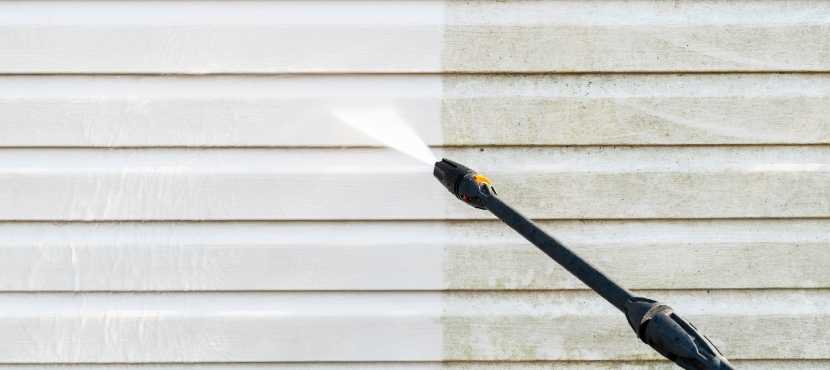
An excellent way to do a quick deep cleaning is with water pressure. Professional crews often use this method to ensure the quality of their work and get the project done in no time.
Remember, the first step before any paint application is to clean and free the wall of any damaged paint.
Therefore, if you are planning to repair the damaged area, you should proceed with sealing the water-damaged surface.
Evade Excess Dampness to Cause Bubbling Paint in Walls
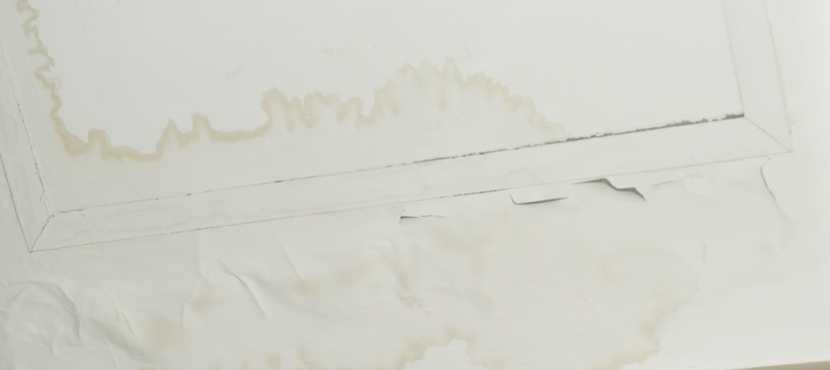
There’s a solution for paint bubbling on your walls caused by excess moisture in your home.
Most of the time, bubbling in walls happens after a flood that causes paint to crumble and powdery mixture to fall off.
Dampness could be due to the absence of a damp-proof layer, site drainage problems, or inadequate subfloor ventilation.
Moisture in the walls can be solved by improving the drainage system and checking that the floor has space to facilitate moisture evaporation. These vapors should easily pass through the wall vents.
Another solution to avoid excess moisture is the application of an anti-humidity coating. Thus, you better contact experts since they are the ones that use the proper techniques for the application of a waterproofing layer.
Apply Primer for a Better Adhesion | No More Paint Bubbling on Plaster Walls!
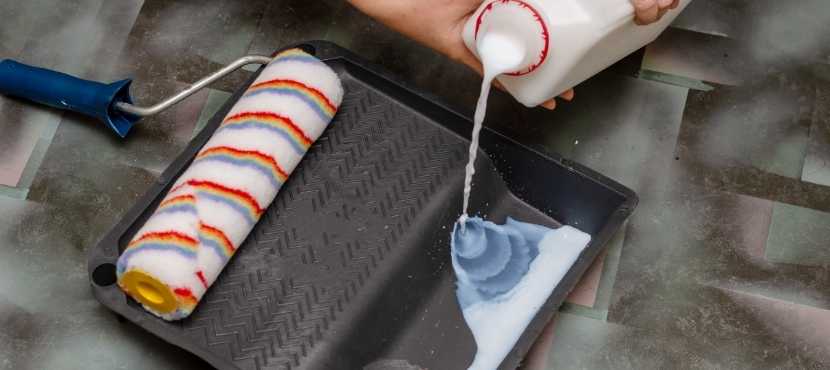
The primary function of a primer is to ensure the adhesion of the topcoat of paint to the surface to provide a long-lasting and good-looking finish.
A good practice to avoid bubbling paint on your walls is to apply a quality primer before the first paint layer.
If your coat of paint starts to flake off or the surface doesn’t absorb the color, it has a solution. It means that you didn’t apply primer with the proper procedure, and you will have to start from scratch.
A professional painter must apply primer with a roller or brush, as if it is regular plastic paint, directly on the surface. Therefore, it is recommended to consult or get the help of an expert to get quality results.
If you have any doubt about How Long Does Primer Take to Dry. Find out this and more information in our blog.
Repairing The Damaged Area
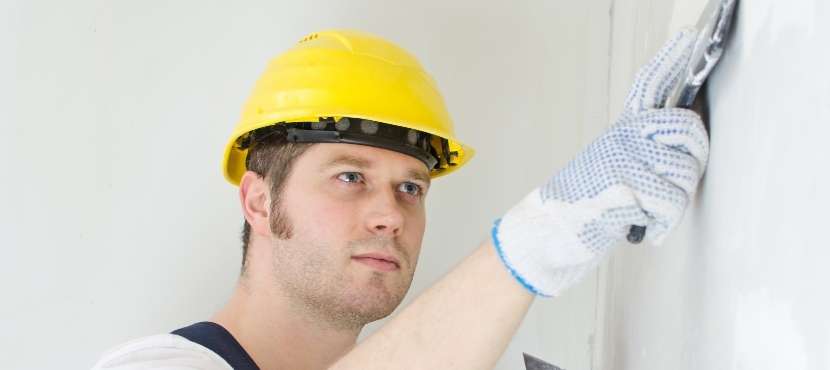
In any case, if you already have bubbles in your plaster wall, you must contact a team to help to repair the bubbles in your wall for you. Make sure that the professional team removes the damaged wall material, cleans the surface, seals it, and provides a last sand touch process to the surface.
Notably, the expert must fill the missing plaster and level the wall with patches; it all depends on the wall’s damage. Hence, professionals could also use joint compounds to level the wall.
You should take into account that the number of coats will depend on the depth of the repair needs. Remember, as the last step, and the wall must have a sand process.
Furthermore, check on the last coat to set and dry thoroughly. Thus, this will help to have a better result in the previous process. It is recommended to use sandpaper to smooth the wall surfaces and the outer edges.
After sanding your surface, clean it because this process will leave dust that must be removed with a damp rag. Once the damned area is repaired and has the sandpaper, it’s time to paint!
Moreover, before painting, you should apply a primer. Remember that the principal goal is to avoid having that bubble on your wall once again. Primer will provide you so many benefits and give a long-lasting result. Guarantee a good-looking wall on your property by using a quality primer.
Most experts do not recommend applying latex primer to a water-damaged wall surface. Once you choose the proper primer and apply it to your surface, wait for the primer to dry before starting the wall painting or even touching up.
With all these recommendations, we hope you have solved the problem of having paint bubbles on your walls. We highly advise you to contact an expert, so you can guarantee professional results and everything will be repaired as it has to be repaired.
Read the following section to find out more about professional painting services.
Contract Professional Painting Services In Pennsylvania
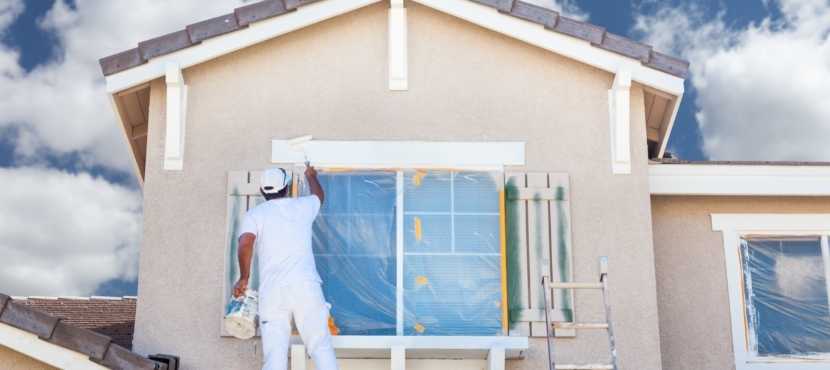
Contract Professional Painting Services In Pennsylvania
Given these points, you can notice that you should take some vital points into account before starting a painting project. You can avoid paint bubbling on plaster walls by considering our value tips.
Do not hesitate to contact our expert team whenever you need any exterior or interior professional painting needs for commercial or residential properties.

